Instructions
- Preheat your oven to 350°F (175°C). Grease and lightly flour a loaf pan, tapping out any excess flour. This helps prevent sticking and allows the loaf to release cleanly after baking.
- In a large mixing bowl, cream together the softened butter and sugar for about 2 minutes until light and fluffy. This aeration helps give the bread a tender crumb.
- Add the beaten eggs and mashed bananas to the creamed mixture. Beat well until the mixture becomes smooth and consistent with visible banana flecks.
- In a medium bowl, whisk together the flour, baking soda, and salt. Make sure the baking soda is well distributed to ensure even rising.
- Gradually add the dry ingredients to the wet banana mixture. Mix until just combined—avoid overmixing to keep the loaf soft and tender.
- Add the vanilla extract and stir gently until fully incorporated.
- Optional: If using chocolate chips or nuts, toss them in 1 tablespoon of flour to prevent them from sinking during baking. Fold them gently into the batter.
- Pour the batter into the prepared loaf pan. Note: This recipe makes a generous amount of batter for one large loaf. You may also divide the batter between two smaller pans for quicker, even baking.
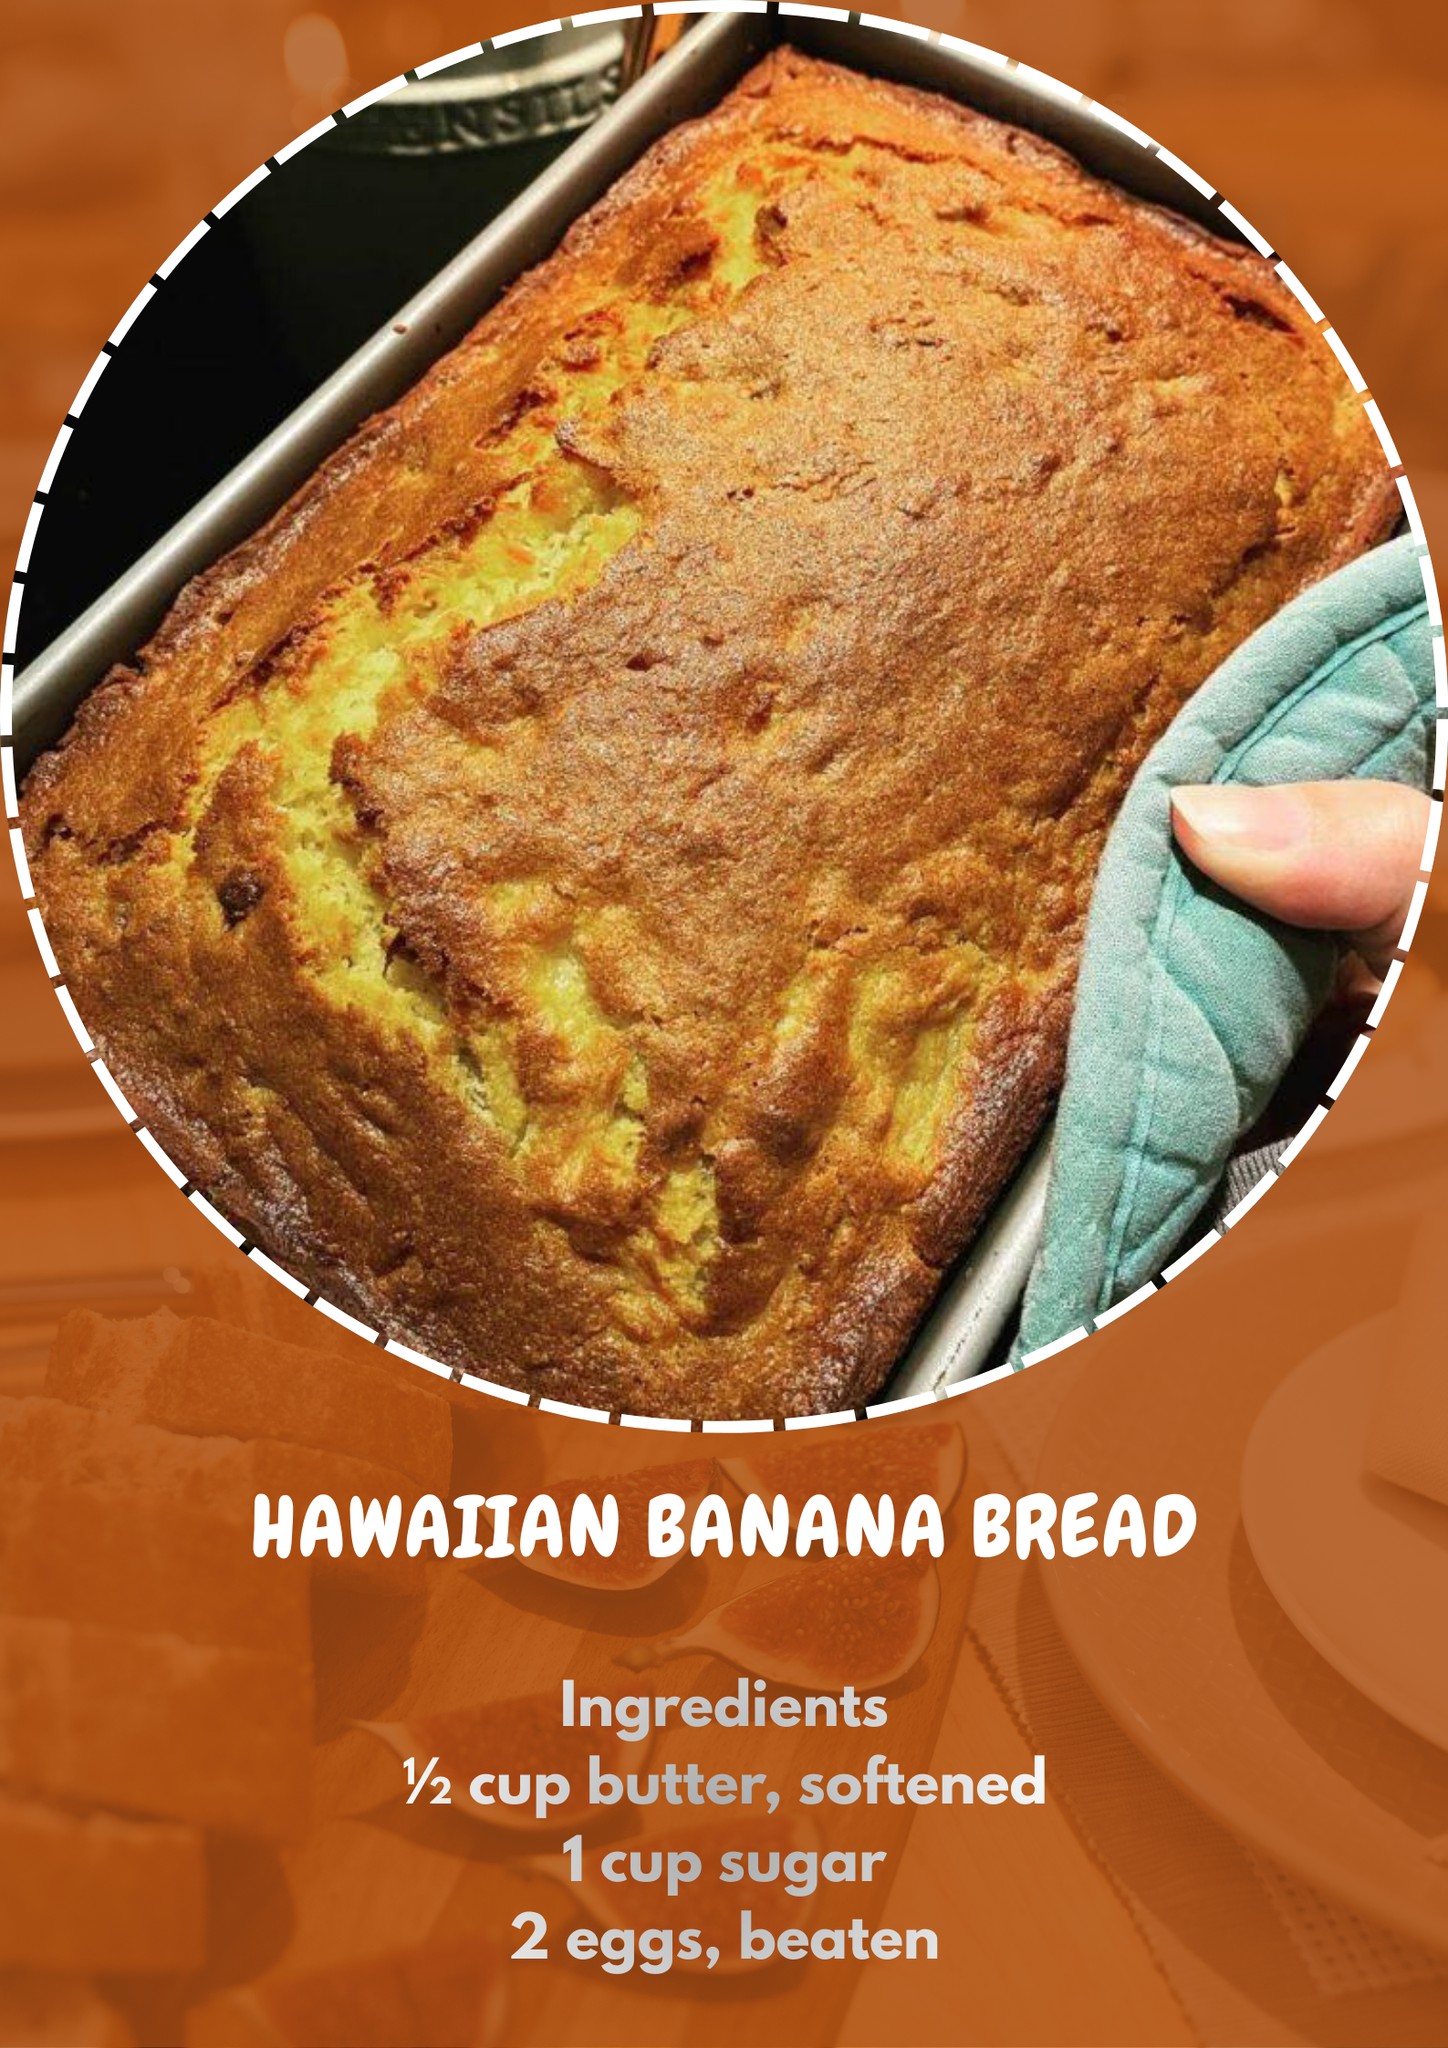
- Bake for 55–65 minutes. The top should be golden and domed, and a toothpick inserted into the center should come out mostly clean (a few moist crumbs are fine). Baking time may vary—check for doneness starting around 55 minutes.
- Tip: The outer edges may darken before the center is fully baked—this is normal. Your loaf isn’t burnt as long as the center is fully set and not wet.
- Remove the bread from the oven and let it cool in the pan on a wire rack for at least 20 minutes. This resting time allows the structure to set before slicing.
- Carefully remove the loaf from the pan. Serve warm or let it cool completely. Store covered at room temperature for 3–4 days.
Serving & Storage Tips
See more on the next page
Advertisement
